
The Adamski technique is named after Photographer Josh Adamski who is world famous for his distinctive impressionist style landscape images.
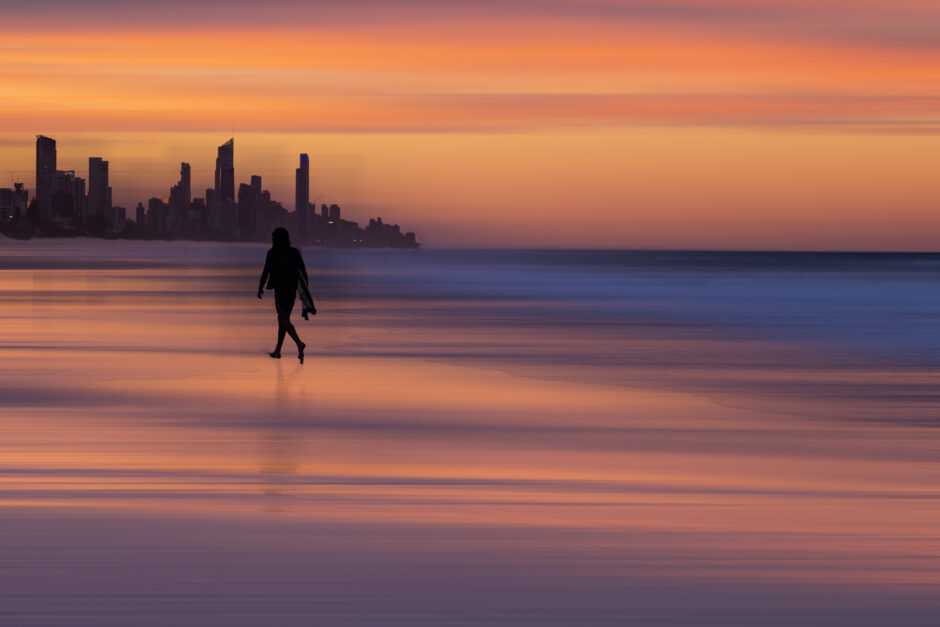
To create this effect yourself, one of the most important parts is to use an image that has very definite and repetitive lines. They can be horizontal such as tall trees, vertical such as waves in the ocean, or even both, vertical building structures with horizontal lines on the ground. Then there must be a human or specific focus of the image that will remain sharp.
If you are already familiar with this technique, or an expert in Photoshop, there are alternatives to the method below and some shortcuts, so please feel free to edit by your own methods as well. This is only a guide and kept as simple as possible. The main idea is to transform an image from a standard photo to an impressionist style edit.
METHOD
- Once you have selected your image, open it in Adobe Photoshop
- Make whatever usual edits you would like to the image such saturation, brightness, etc
- Use the quick selection tool to select your focus subject in the image (in the example given below, the person)
- If your selection has a bit of detail and takes time selecting and deselecting sections, it’s a good idea to save the selection just in case. Go to the top menu, “Select”, “Save Selection” and name your selection, say “person”. You can then reload the selection at any time by going back to the top menus, “Select” and “Load Selection”, you will then need to click on the arrow next to “Arrow” to show the different saved selection options.
- Next, go to your layers in the right hand menu and right click on your base layer and “Duplicate Layer”. You can name your new layer, in this case “Horizontal”
- Top menu, “Select” and “Inverse” for the selection as we want the background of the selection to be transformed and not the person
- Next select from the top menus “Filter”, “Blur” then “Motion Blur. This will blur all of the image except the subject that you selected. When the motion blur menu pops up, if you are adjusting the vertical layer, change the “Angle” to 90º so that the movement is in a vertical direction. Also change the “Distance” slider making sure the “preview” box is ticked so you can adjust the strength of the pixels, depending how dramatic an effect you want whilst still being somewhat realistic. Usually somewhere between 300 and 500 is suitable. Click “Ok” to save the adjustment.
- You will notice that there is some ghosting of the blur effect into the sharp part of the image. This can create effect in your image if you want to leave it, alternatively, to remove it, following is the process
- Easiest way is to select the layer where you have applied the motion blur. Go to “select” on the top menu and “load selection” – this will re-load your saved selection. Depending on what you saved (the selection or the inverse of the background), select inverse to make sure the background is then selected. Then using the “Clone stamp” go in a vertical direction around the subject to remove the ghosting – the subject will not be affected in this cloning as you have selected the inverse.
- If you are doing multiple layers, repeat the same process on the horizontal layer, obviously just leaving the angle as 0º
- If you would like more information or examples, please Google “John Adamski”


Hey Jules, thanks so much for this article. Just FYI the photographers name for this technique is Josh Adamski (not John). Glenn
Cheers Glenn, must have been autocorrect??? I have fixed in the blog. Appreciate that